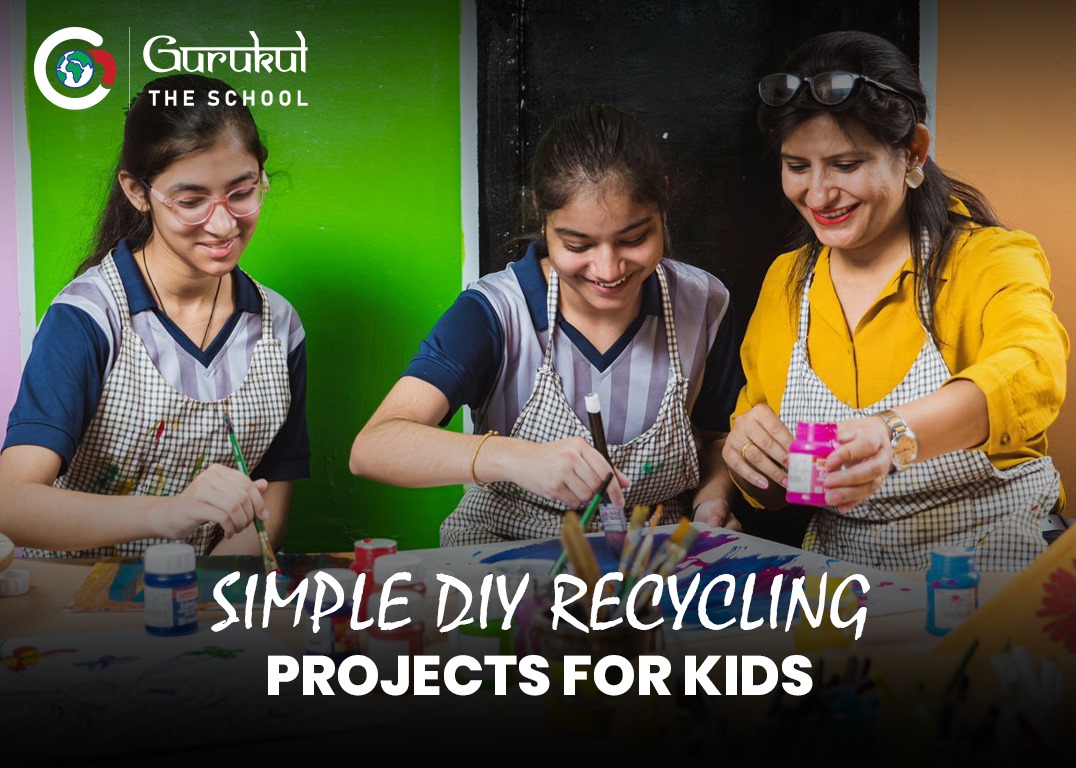
Simple DIY Recycling Projects for Kids
posted on May 22, 2024
Gurukul The School, ranked among the top schools in Ghaziabad, firmly believe that DIY recycling projects are great activities to keep children entertained and engaged in something productive during long vacations

Summer vacations are around the corner, and parents have already started discussing the best ways to keep their kids productively occupied and entertained throughout the holidays. While there are countless ways to make kids’ vacations fun and memorable, we at Gurukul The School, one of the top schools in Ghaziabad, would like to share an exciting activity suggestion. These projects are fun to create and can teach plenty of valuable skills in the process.
For example, your kids can participate in recycling DIY projects that enable them to use their creativity and problem-solving abilities to turn trash into treasure. It can also teach them about resourcefulness and sustainable art while bringing out the hidden artists in them. Not to forget, the sense of accomplishment it gives children after every project completion is second to none.
If you’re willing to organize DIY recycling projects for your kids but aren’t aware of easy yet fun projects to organize, we’ve done the heavy lifting for you. After exploring various DIY recycling project options for kids, we’ve handpicked some interesting ideas you can deploy with minimal materials and less time. So, let’s explore all the DIY recycling project options shared below.
If your kids are animal lovers and love decorating their room with unique creations, they must create tin can critters. They can start by arranging materials like tin cans, acrylic paints, paint brushes, googly eyes, markers, pipe cleaners, and craft glue. Once the materials are arranged, ask your kids to wash and dry the cans thoroughly. After the cans have dried, paint them with any base color and let the paint dry.
You can then ask your kids to use their creativity by drawing any pattern or facial features before sticking the googly eyes on the tin surface. If they want to add a tail or floppy ears to the tin creature, pipe cleaners can be cut in appropriate lengths and sizes before gluing for a distinct look.
We all get newspapers and later throw them away after a few days or months. But what if you could transform these newspapers into usable planters? This DIY project teaches just that! To create usable newspaper planters, gather materials like old newspapers, a bowl or a cup, potting soil, scissors, stapler or craft glue, waterproof sealant, small plant, and paint. Once you’ve gathered all these materials, start by cutting newspaper strips about 1 inch wide and several inches long. Then, roll each strip diagonally and create long, tight newspaper coils.
You can use the bowl or cup as a sizing guide to shape the planter’s bottom. Start building the planter’s sides by coiling the newspaper strips on top of each other and then securing them with a staple or glue. As the planter reaches the desired height, you can tuck the end of the final newspaper coil underneath itself and secure it. Lastly, paint the planter and place the potting soil before adding the plant.
Gurukul The School recommends this DIY project to everyone because there are old t-shirts in everyone’s closets, requiring only two materials. To work on this project, gather old shirts you no longer plan to wear and a sharp scissor (adult supervision required for safe usage). Once you’ve gathered these two, lay the t-shirt flat on a smooth surface and cut it into continuous loops, starting from the bottom hem and spiraling upwards until you reach the neckline.
While cutting this way, you’ll end up with a long, connected fabric loop that must be stretched until it becomes a thinner and softer yarn-like material. You can then use it for knitting, crocheting, weaving, or for other fabric projects.
Let your kids help feathered friends by creating this fun backyard project. For this DIY, you will need empty milk cartons (cleaned and dried), a craft knife, a permanent marker, paint brushes, string or yarn, a ruler, bird seeds, and paint. Once gathered, cut a large rectangular feeding hole on one side of the carton, about halfway down.
A ruler can be used to mark the cutting area. Then, paint the carton, dry it, and punch two holes near the top. Place a strong string or yarn through these holes and hang them on the balcony after adding the bird seeds.
Conclusion
We at Gurukul The School, ranked among the best schools in Ghaziabad, firmly believe that DIY recycling projects are great activities to keep children entertained and engaged in something productive during long vacations. They aren’t only fun but also foster the kid’s creativity, problem-solving, and resourcefulness skills as they lend a new lease of life to trash items that would otherwise have been discarded and thrown in a landfill. Parents can also use these projects as a team-building activity that strengthens the parent-child bond while giving them an exciting opportunity to spend quality time together. So, pick one or all DIY recycling project ideas discussed in this blog post and bring them to life.